Second Nature Sourdough Bread Recipe - No Knead


I thought it would challenge me to let go of the idea of failure if I posted my journey to social media, flops and all. After my first attempt, that I thought was a fail (I've since decided it wasn't because the flavour was incredible, it just didn't rise), a friend from Australia reached out and offered me her bread recipe. I was like a moth to light and very enthusiastically took the advice and followed her recipe. I still didn't follow it flawlessly, because I'm me... But, that's where I was so surprised by my results! Beautiful, aerated, light bread with a crispy crust. I honestly couldn't believe that came out of my oven! The flippant, anything goes gal who can barely make a biscuit twice the same way, suddenly could make bread without commercial yeast. What! I used this recipe a lot, but then I stumbled upon this idea of not kneading your dough, and instead, using stretch and folds. This honestly just fit my lifestyle so much better, so this recipe is what I've used for the bulk of my sourdough bread making!
The other thing I realised is you don't need the fancy tools. In place of a bench scrapper, you can just use some care and a spatula. In place of a banneton, you can simply use some damp tea towels and a colander. In place of a dutch oven, you can use a baking trap and dish full of water. There's a way around all of these hurdles, it just takes a little creativity & intuition.
No Knead Sourdough Bread Recipe:
Necessary Tools:
- Large bowl
- Spatula
- Scale (this will make your life a million times easier and is 100% worth the $15 on amazon!)
- A few cloths
- Either a dutch oven, or a baking tray
- Sharp scoring tool (knife, scissors, razor, scoring blade)
Ingredients & Method:
Add all ingredients to bowl in order listed. I usually make my bread dough around 5pm.
- 50g active sourdough starter
- 350g room temp water
Stir
- 500g unbleached flour
- 10g salt (you can adjust this based on your taste taking it as low as 5g, but I love salt)
**For Sandwhich Loaf, add 15g avocado oil & 15g honey to dough**
Mix together until it forms a rough, shaggy dough. Cover & leave for 1 hour.
After 1 hour, perform 15-20 loose stretch and folds, circling your dough 4-5 times. A stretch and fold is simply a motion of grabbing one corner of the dough and "dumping" it into the middle, then moving on to the next edge until you've gone around your dough a few times. This process is essentially kneading your dough without the messy, unnecessary, traditional kneading.
Leave 15 - 30 mins.
Perform 2 rounds of stretch and folds.
Repeat these two steps 3-4 times.
Cover & leave on counter overnight.
Morning:
Check your dough to make sure it's doubled. If it looks small, leave for another few hours in a warmer spot keep a close eye on it. Try oven with the light on.
If your dough looks doubled and airy, it's ready for the next stage.
Shaping:
Pour your dough onto floured surface. Grab edges and dump into the middle, kind of like stretch and folds. You want to try to create a "seam". This will be the bottom of your bread. When you've got a dough ball with this seam and some tension on the top (top of bread, bottom of dough ball), cover with a bowl and leave for 15 minutes. This is allowing your dough to rest, so that the final shaping holds more effectively.
After 15 minutes, do this again, then put your dough seam side up into a floured (I recommend using rice flour) banneton* to prove in the fridge for a few hours. Make sure you cover it with a damp cloth or a plastic bag to ensure it's relatively air tight.
* If you do not have a banneton (I didn't for over a year), you can wet a cloth, flour it and place it in a colander to line it. Pop your bread, seam side up, on this floured cloth, then cover with another damp tea towel. This does the same thing.
Pop in fridge anywhere from 1 hour to 12. I like to shoot for 2-3 hours. You CAN skip this step, but in my experience, it will diminish the rise you get.
Baking:
Preheat over thoroughly to 500 F with dutch oven or baking tray inside.
I have used two baking methods.For Dutch Oven:
Remove from oven once heated, place scored dough inside on baking paper. Pour 1-2 cups of boiling water under baking paper to create steam. Place lid back on top as quickly as possible and place back in oven.
Lower temperate to 480 F / 250 C. Cook for 25 mins.
After 25 minutes, remove lid & lower temperature to 430 F / 220 C. Bake for another 25 minutes.
After 25 minutes, turn over off & crack oven for another 10 minutes.
Remove, promptly place on cooling rack and let cool completely before cutting.
For Baking Tray:
Place casserole dish of water on lowest oven grate while oven is heating. This will create steam for your crust!
Place dough into baking paper, then onto baking tray.
Quickly place in oven, being careful not to let much heat out.
Lower temperate to 480 F / 250 C. Cook for 20 mins.
After 20 minutes, lower temperature to 430 F / 220 C. Bake for another 30 minutes.
After 30 minutes, turn over off & crack oven for another 10 minutes.
Remove and let cool completely before cutting if you want to see how aerated it was. But if you're like me and you just wanna dig it, go for it!
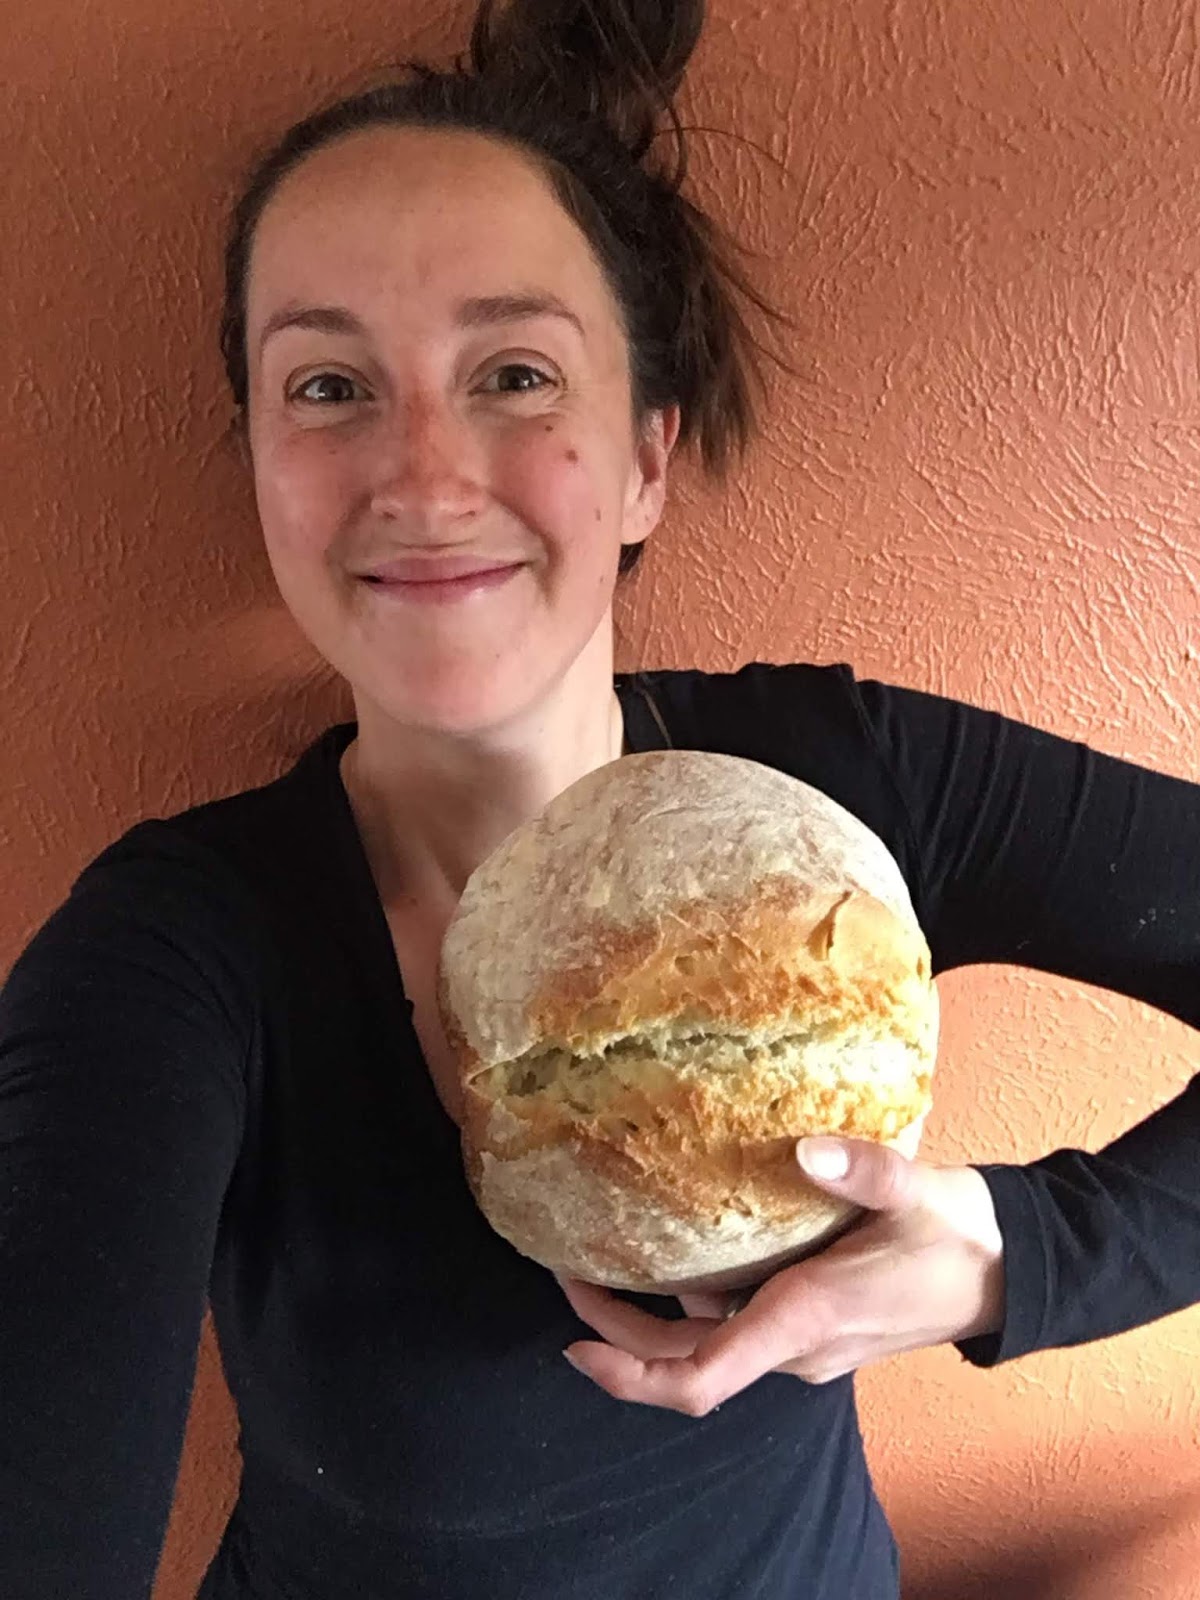
Voila! You should have a decent loaf of sourdough ready for brekkie!

* One thing I have been playing with... I live in Colorado where it's quite cold overnight, around 55 F / 12 C. I've started just letting my dough proof on the bench and not transferring it to the fridge at all. The major difference I've noticed is that my loaf is about 1/4 bigger then when I do the fridge proof. I was a little blown away by this! The flavour is the same, as is the aeration and density. Something to try!
I hope you have the most fun baking beautiful sourdough bread and embracing all of the richness of life that this rhythm brings.
Message me if you have any questions or need clarification & tag me in your bready creations! I am loving being on this journey with you all!
Love,
Heidi

Comments